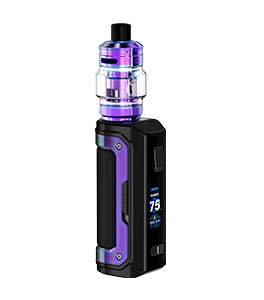
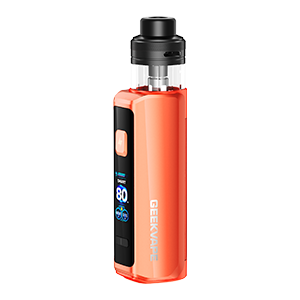


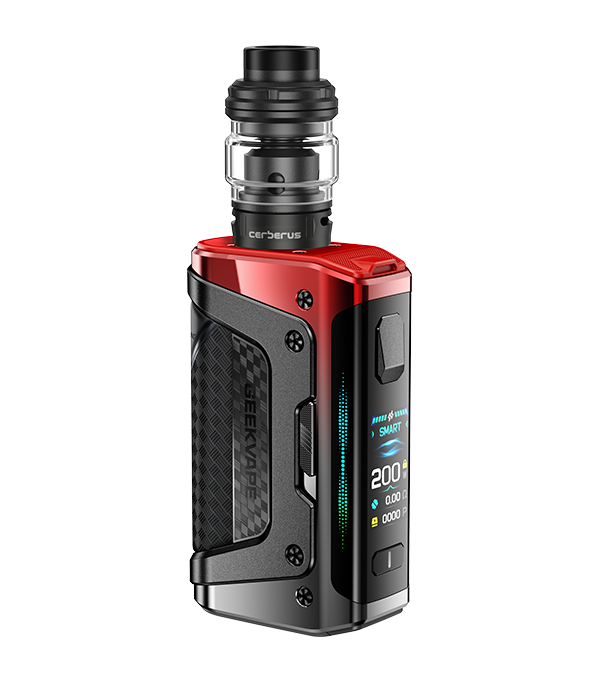

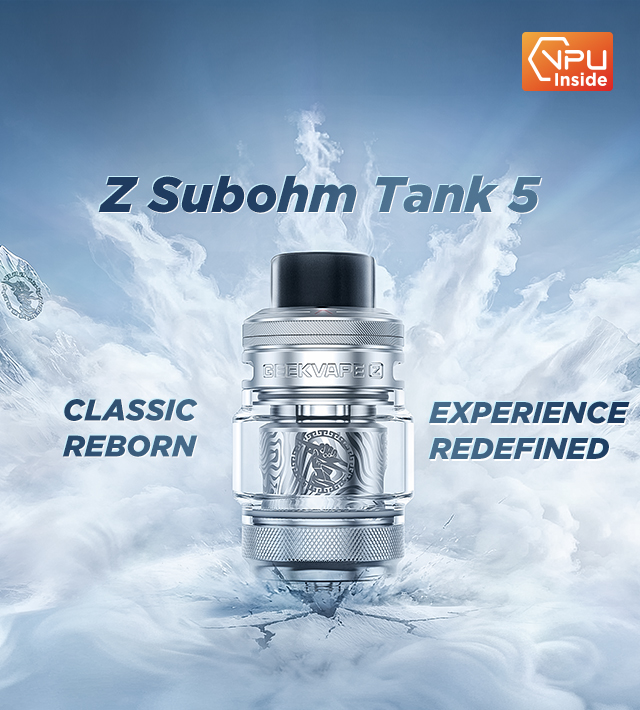
Z Subohm Tank 5
Overview

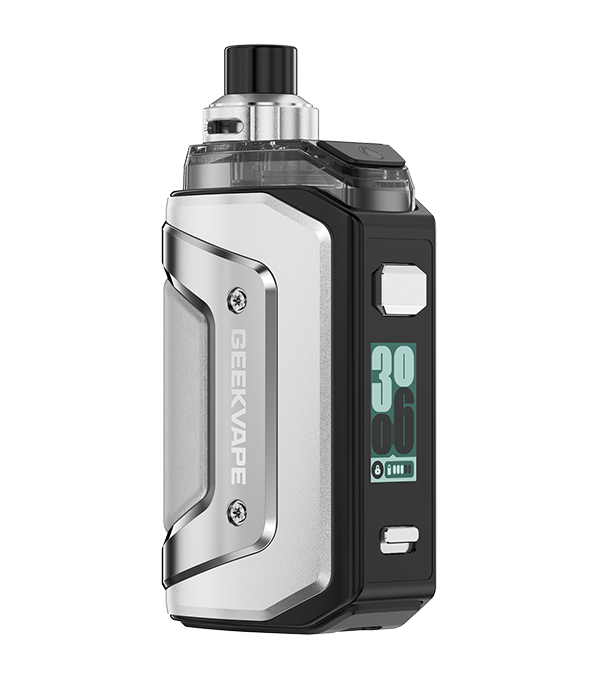
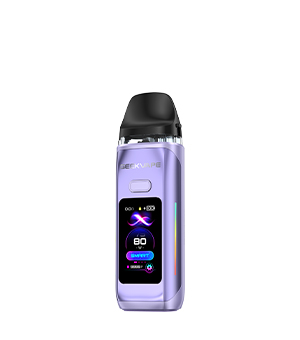
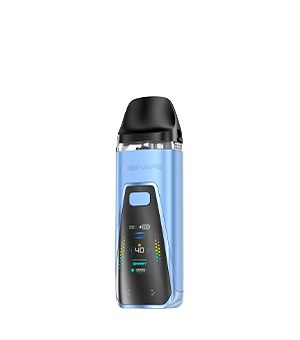
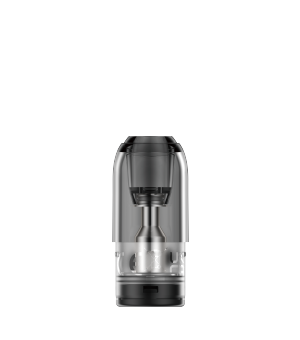
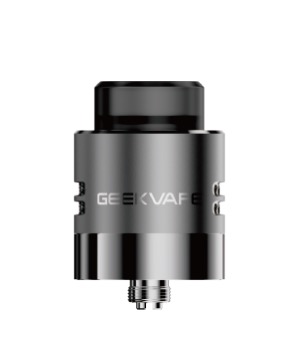
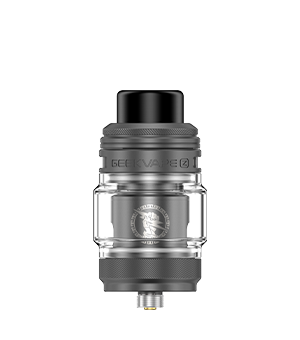
Comparison


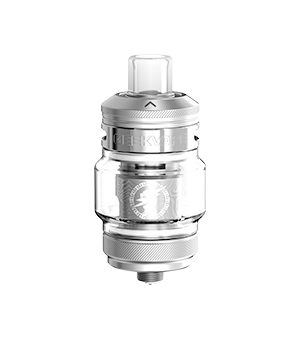
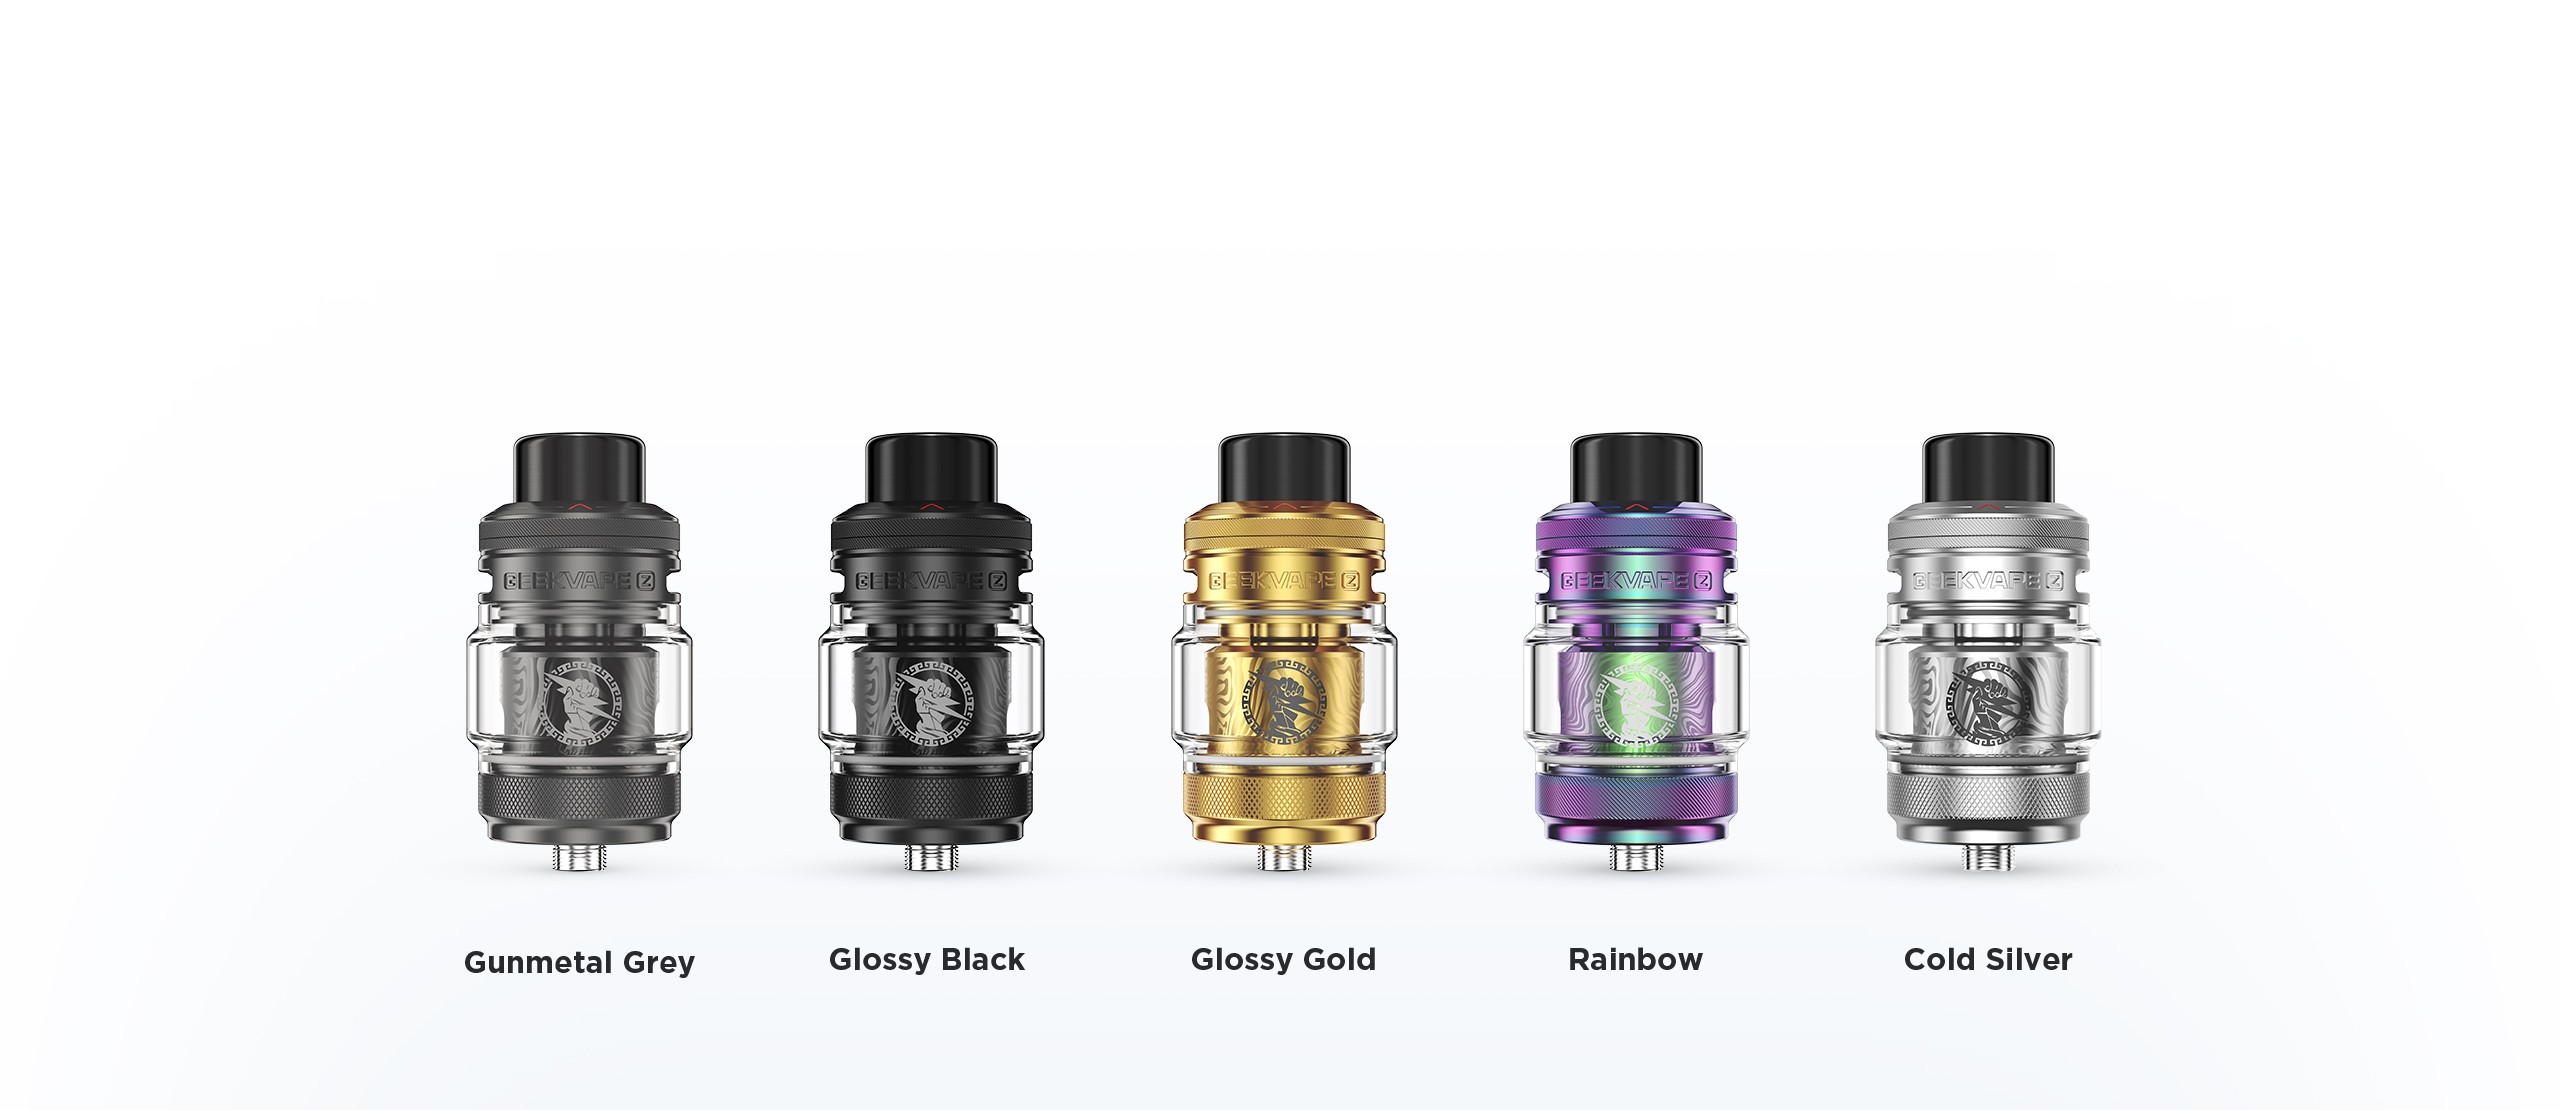
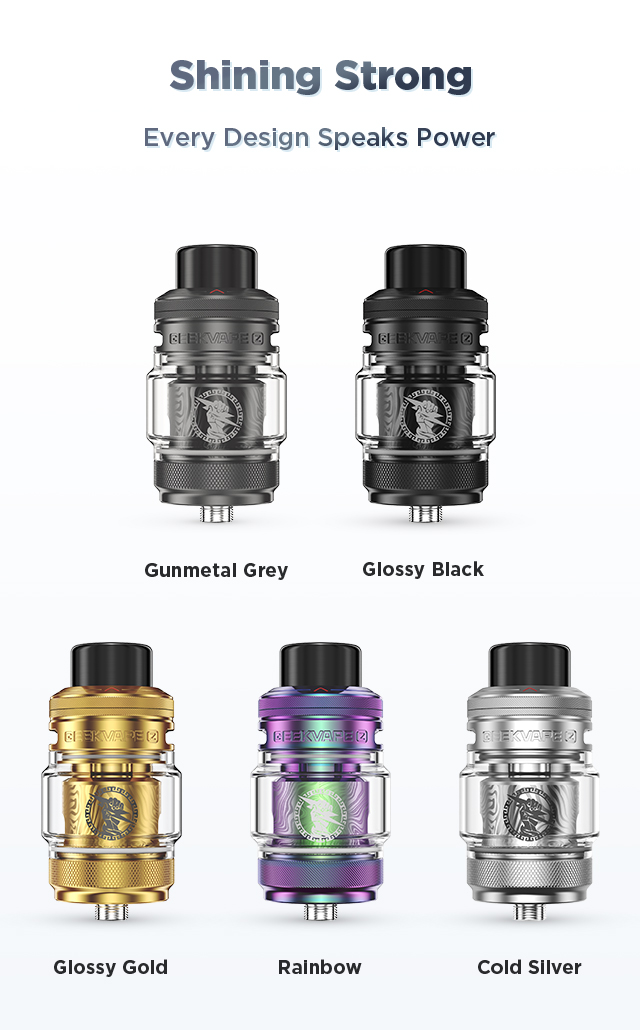
Shining Strong
Classic Design Speaks Power
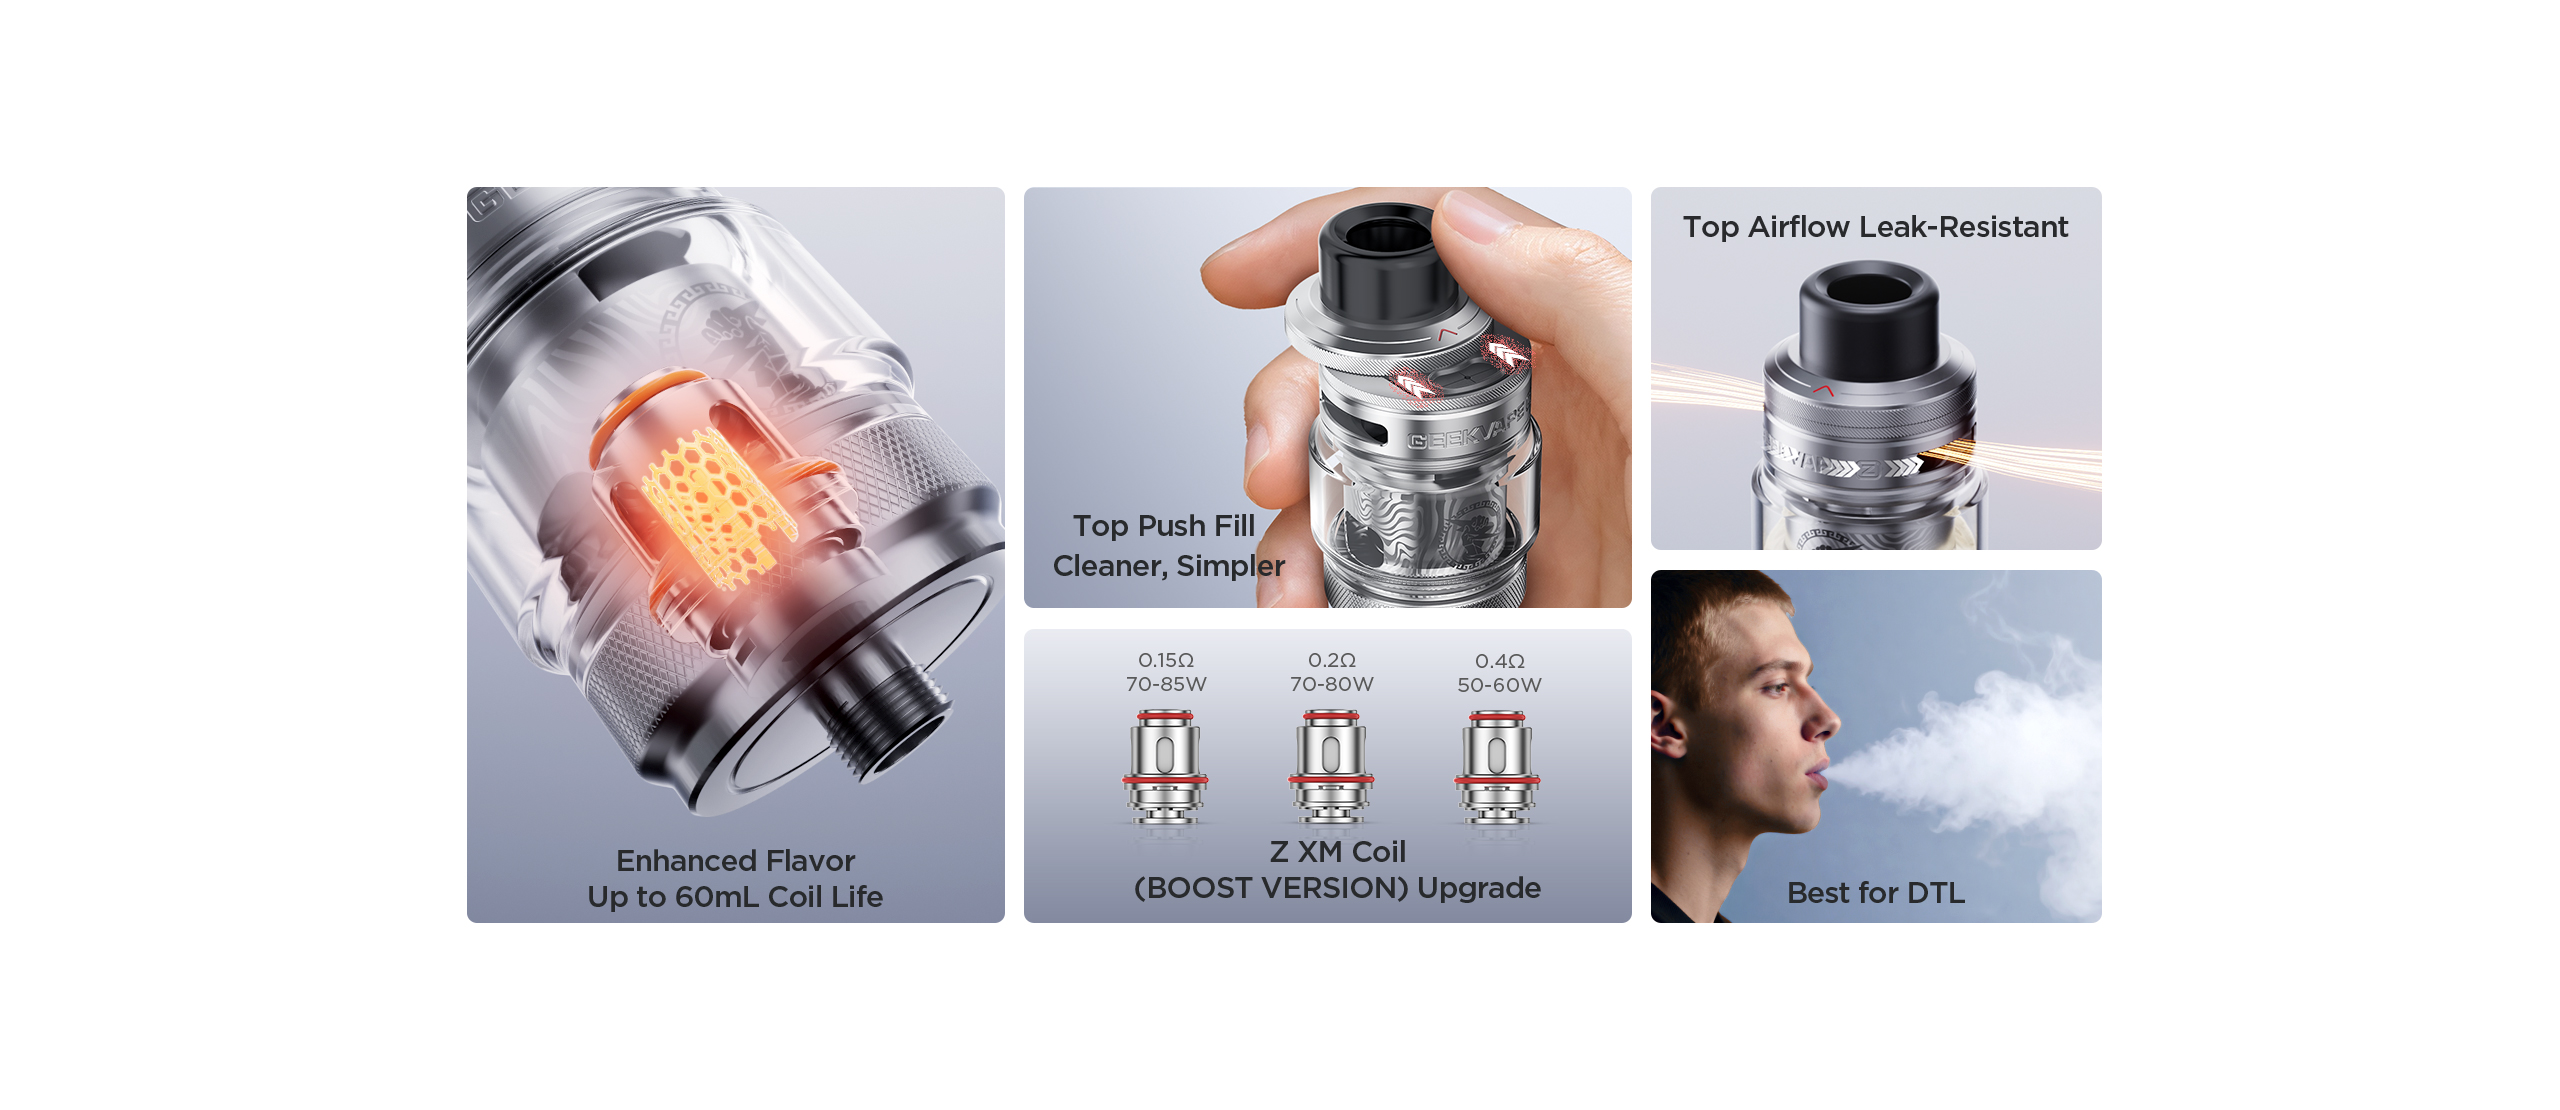
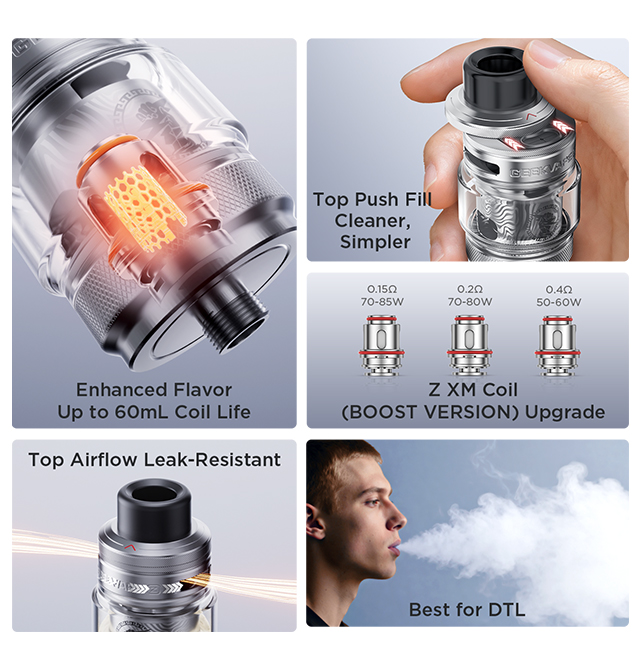
Top Push Fill
Cleaner, Simpler
Cleaner, Simpler
Completely hassle-free — with a cap that stays attached, never lost.
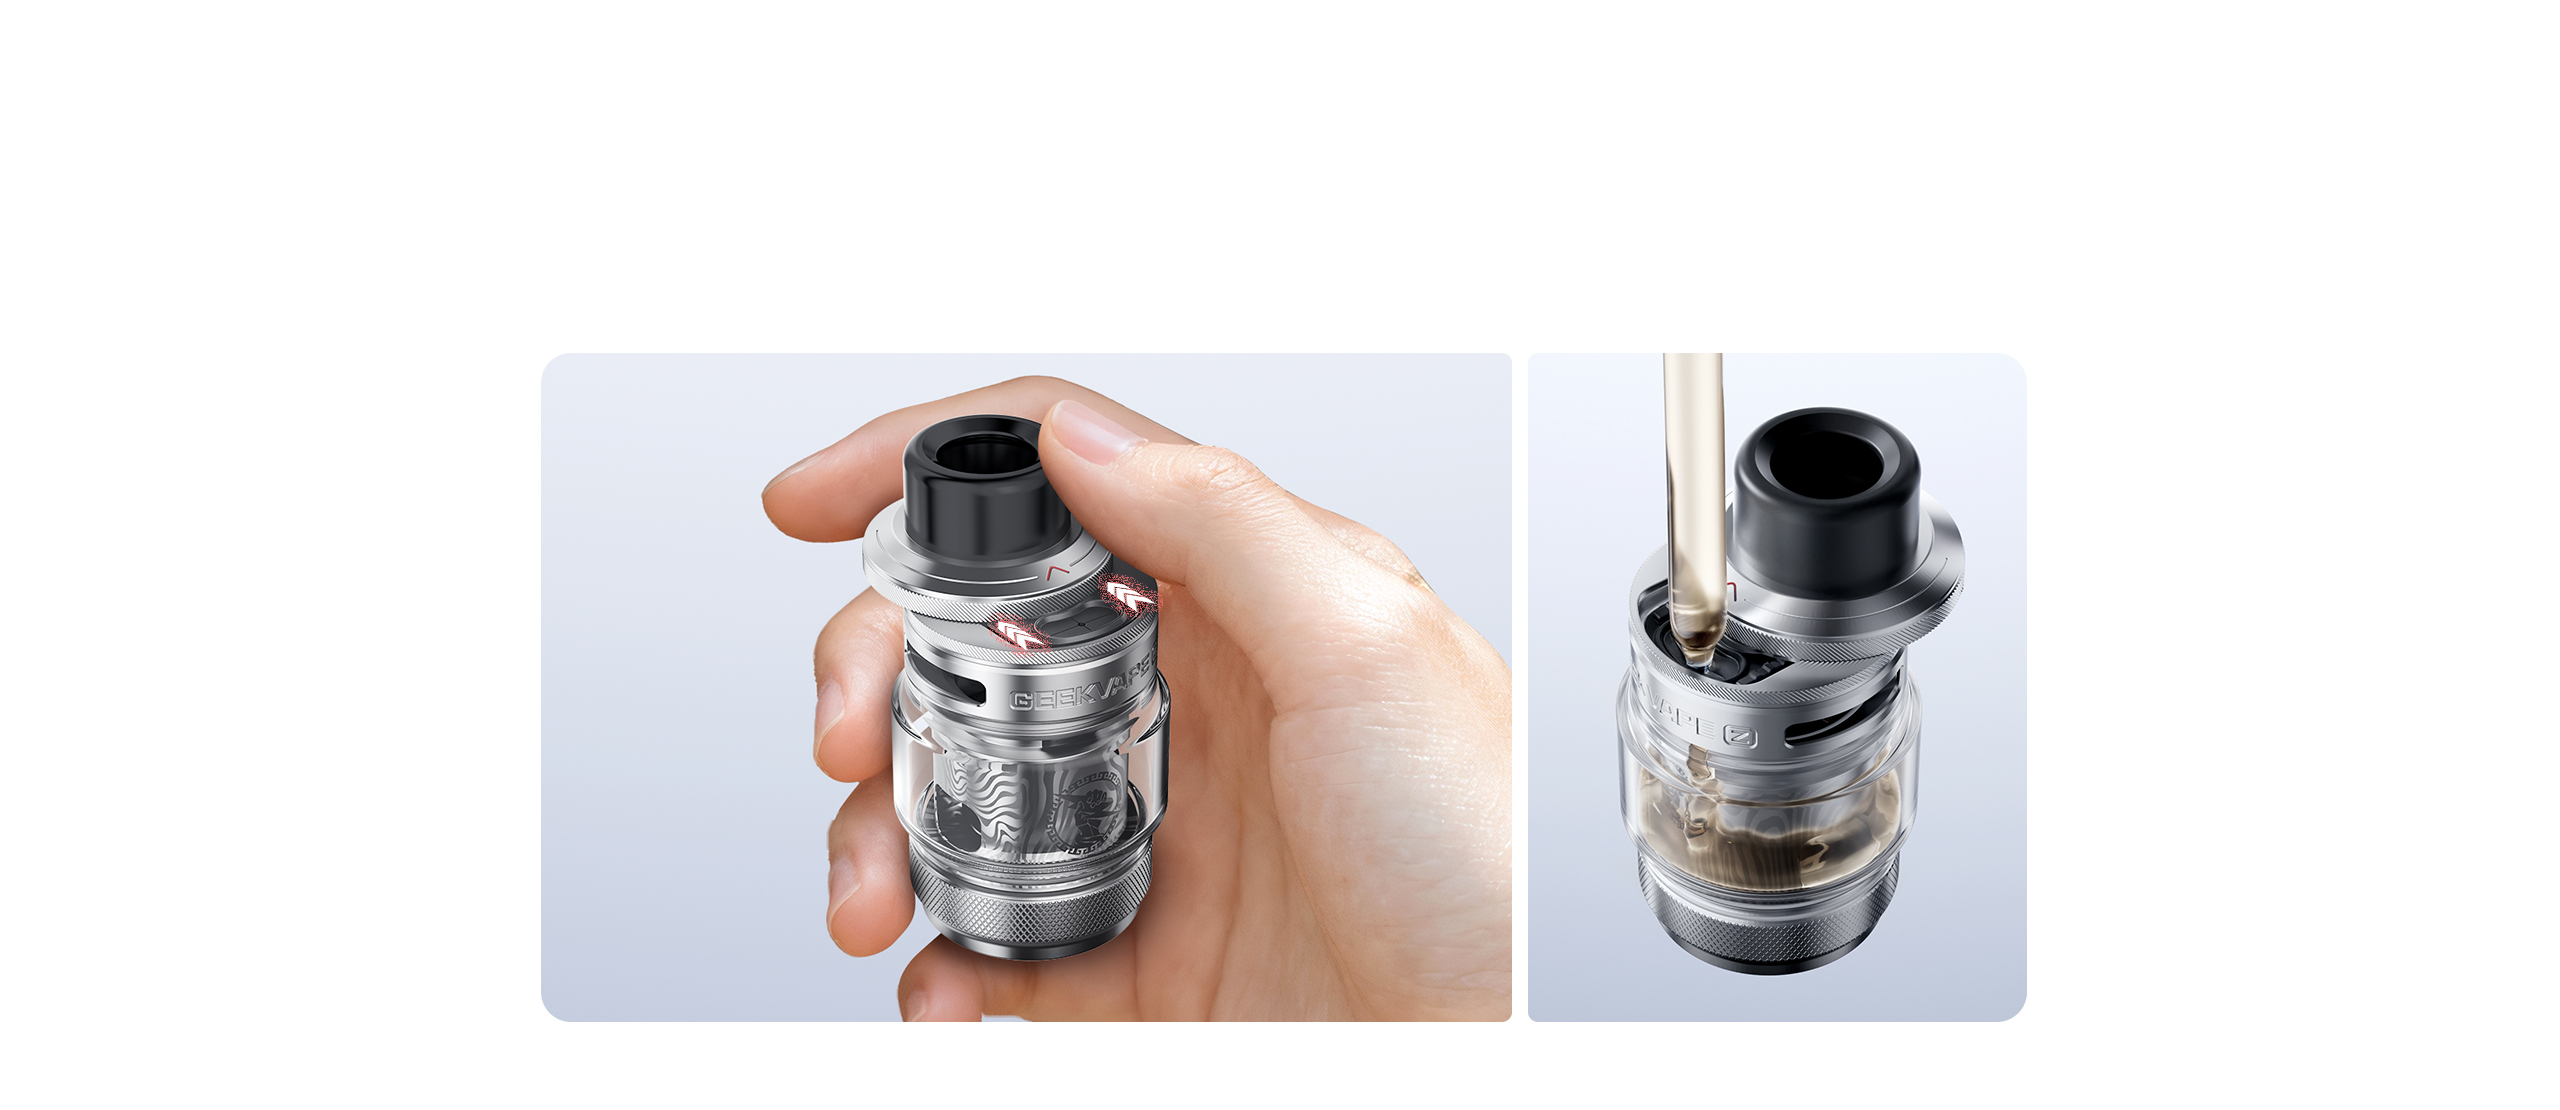

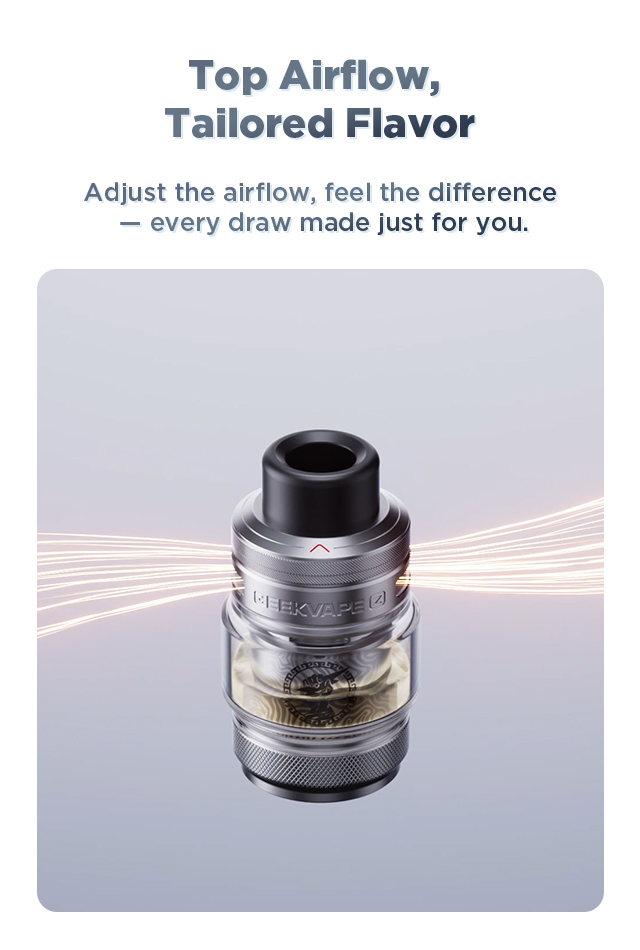
Top Airflow, Tailored Flavor
Adjust the airflow, feel the difference — every draw made just for you.
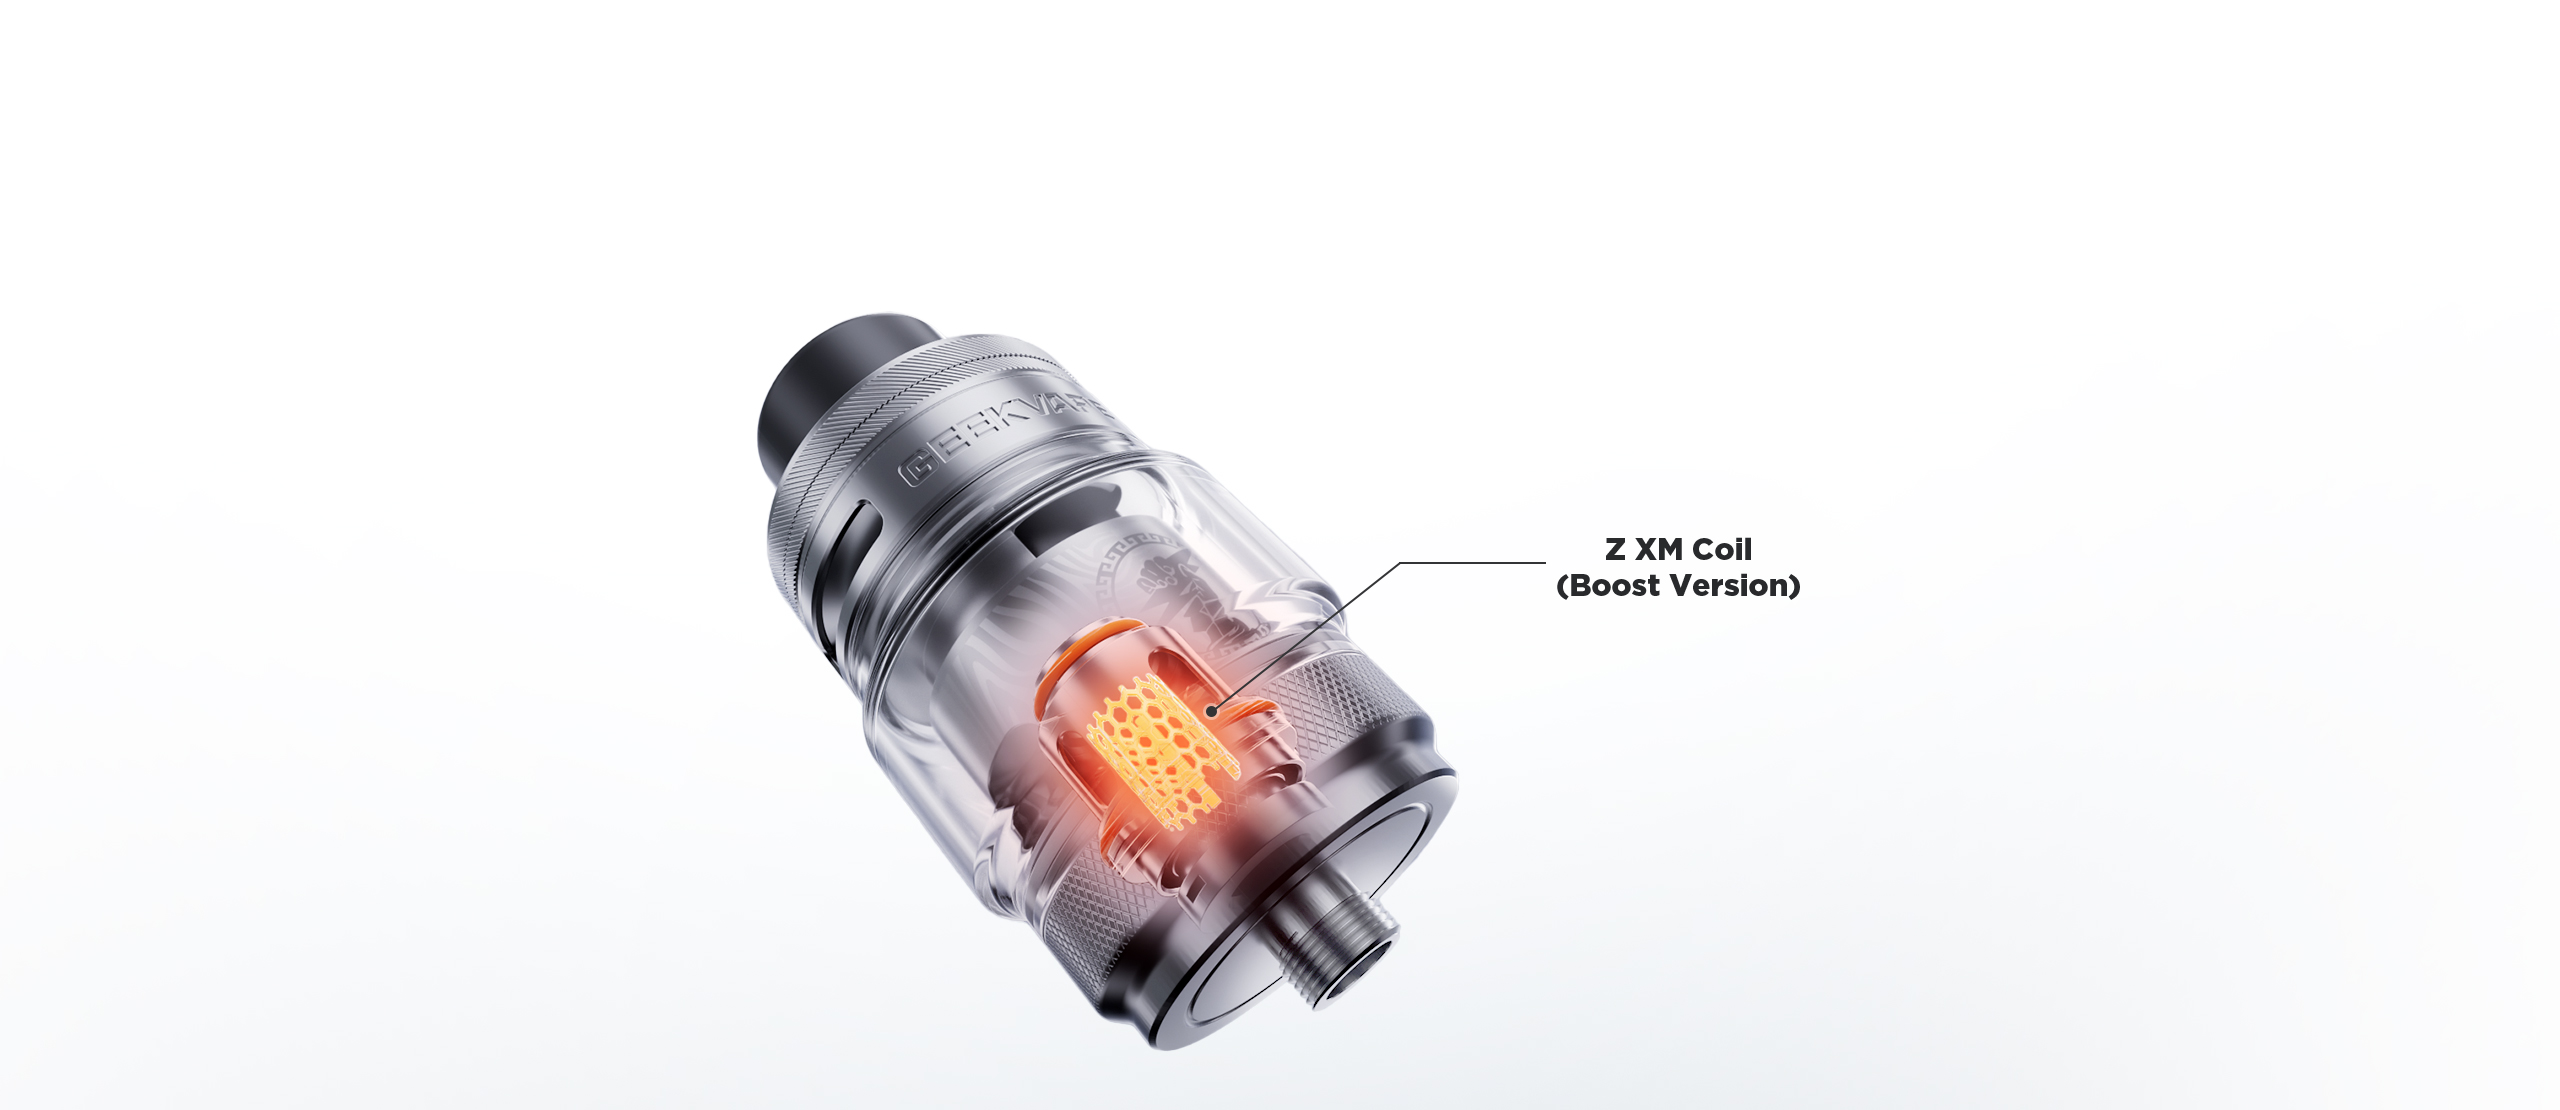
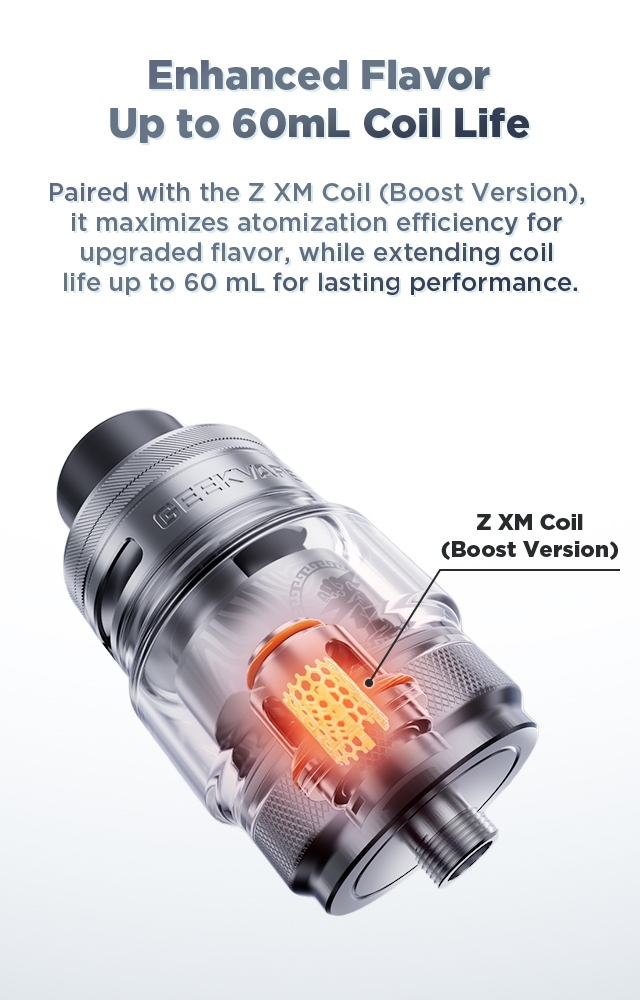
Enhanced Flavor Up to 60mL Coil Life
Paired with the Z XM Coil (Boost Version), it maximizes atomization efficiency
for upgraded flavor, while extending coil life up to 60 mL
for lasting performance.
for upgraded flavor, while extending coil life up to 60 mL
for lasting performance.
Compatible With
Z XM Coil (Boost Version)New Arrival
Z Series Coils

Z0.15 XM Coil
(Boost Version)
(Boost Version)
0.15Ω
70-85W
70-85W

Z0.2 XM Coil
(Boost Version)
(Boost Version)
0.2Ω
70-80W
70-80W
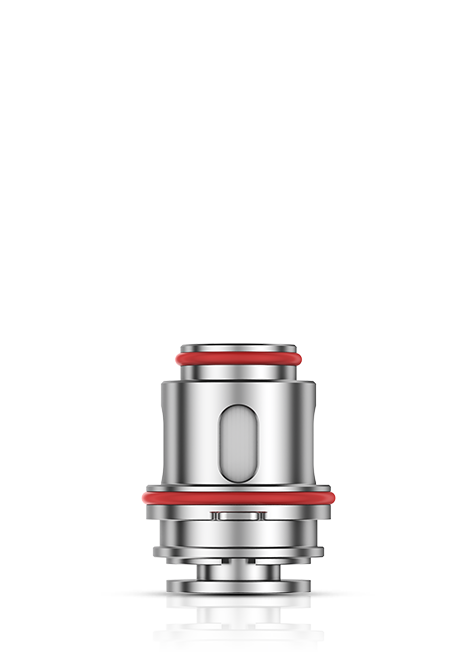
Z0.4 XM Coil
(Boost Version)
(Boost Version)
0.4Ω
50-60W
50-60W

Tank User Guide
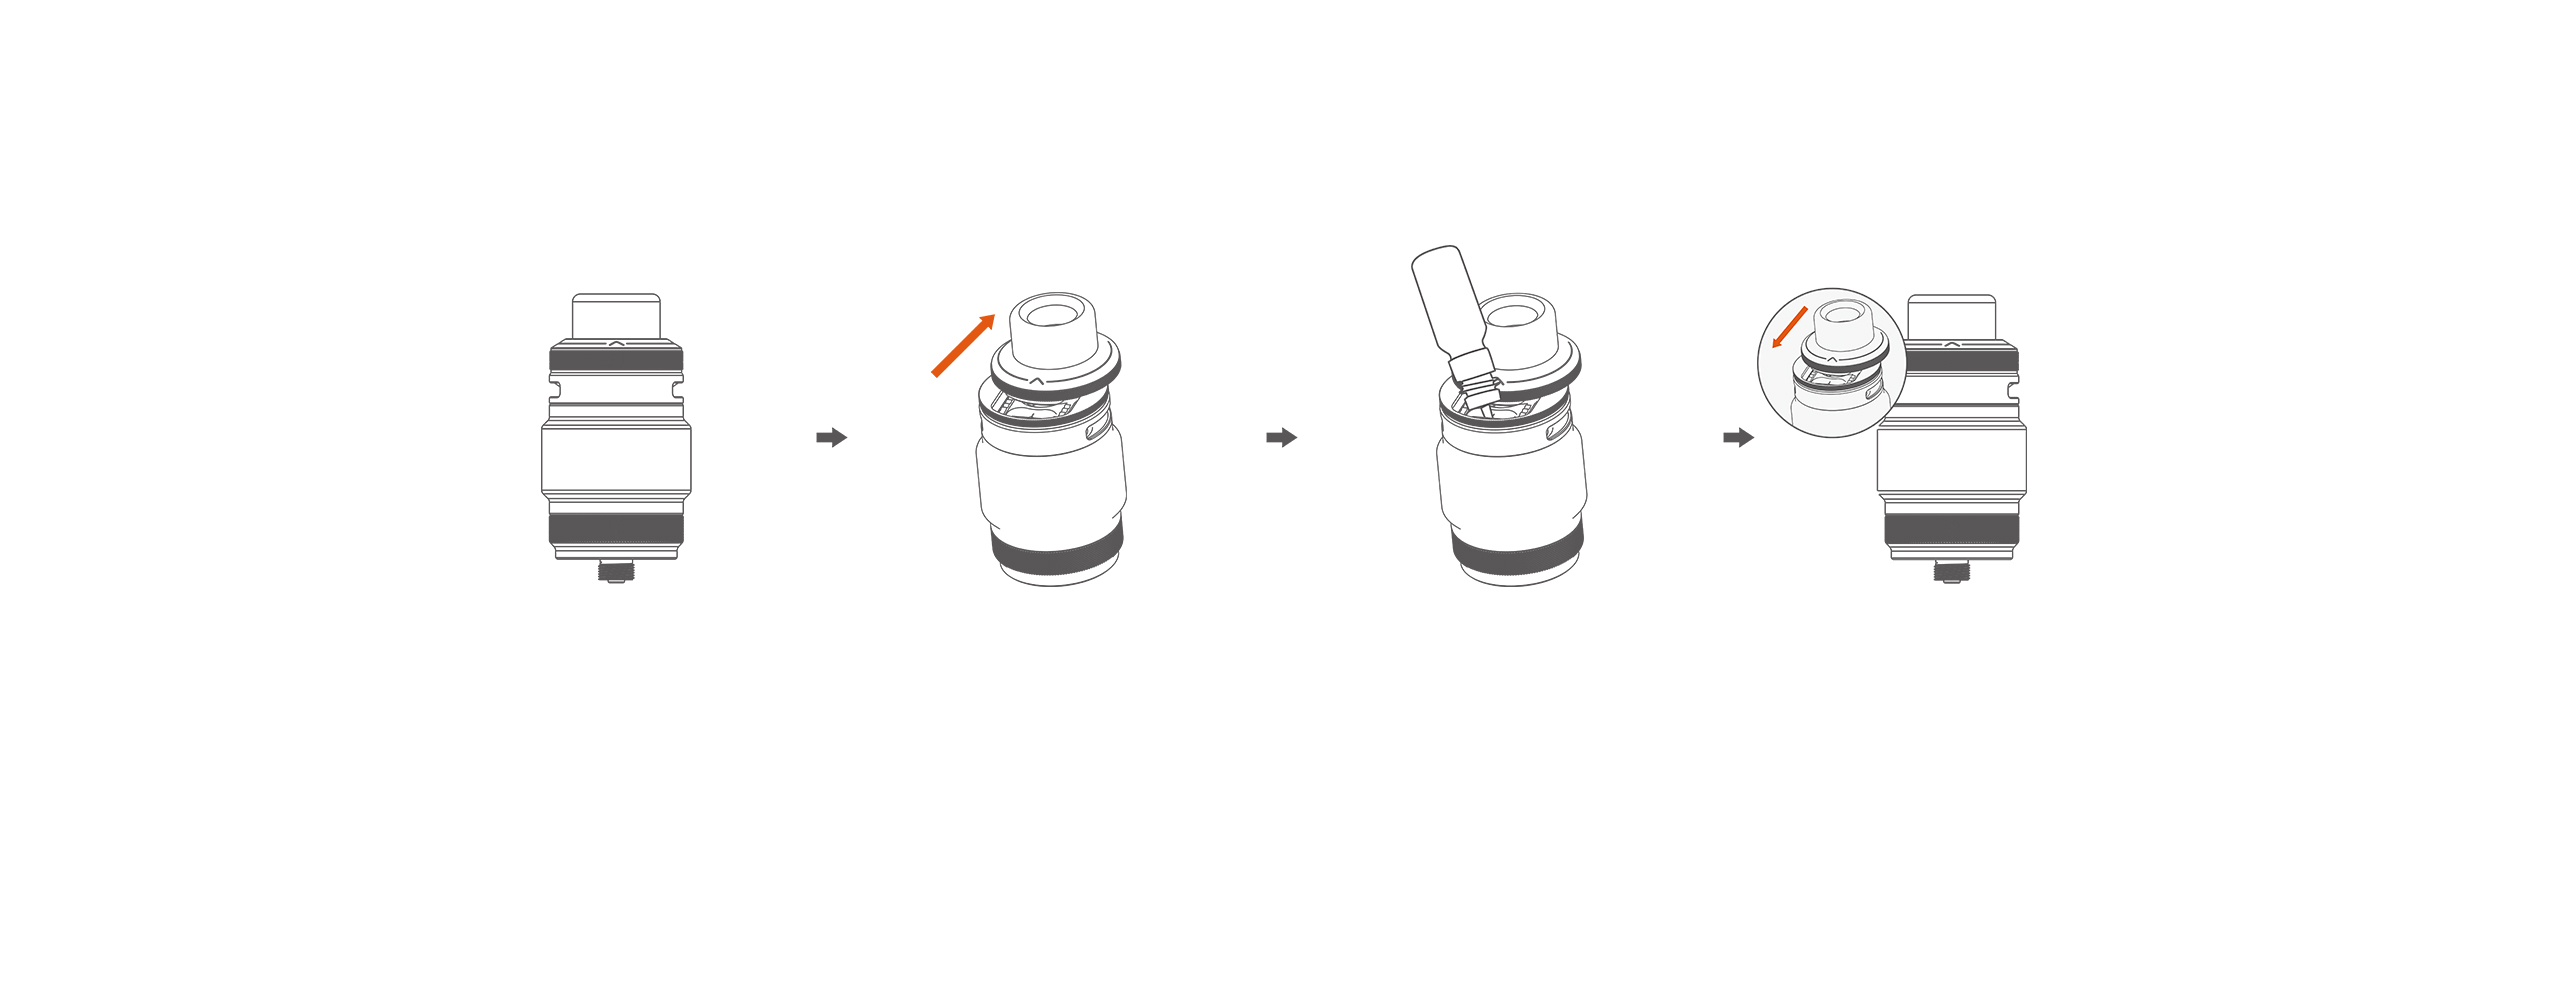
Fill/Refill The E-liquid
① Open the fill port: Slide the top-fill cap in the direction of the arrow until the fill hole is fully exposed. ② Fill with e-liquid: Insert the bottle nozzle into the hole, gently squeeze, and fill slowly.
Pay attention and do not overfill.
③ Close the fill port: Push the cap back into place.
④ Prime the coil: If installing a new coil, wait 3–5 minutes after filling to allow the cotton to fully saturate.
(Skip this step when only refilling.)
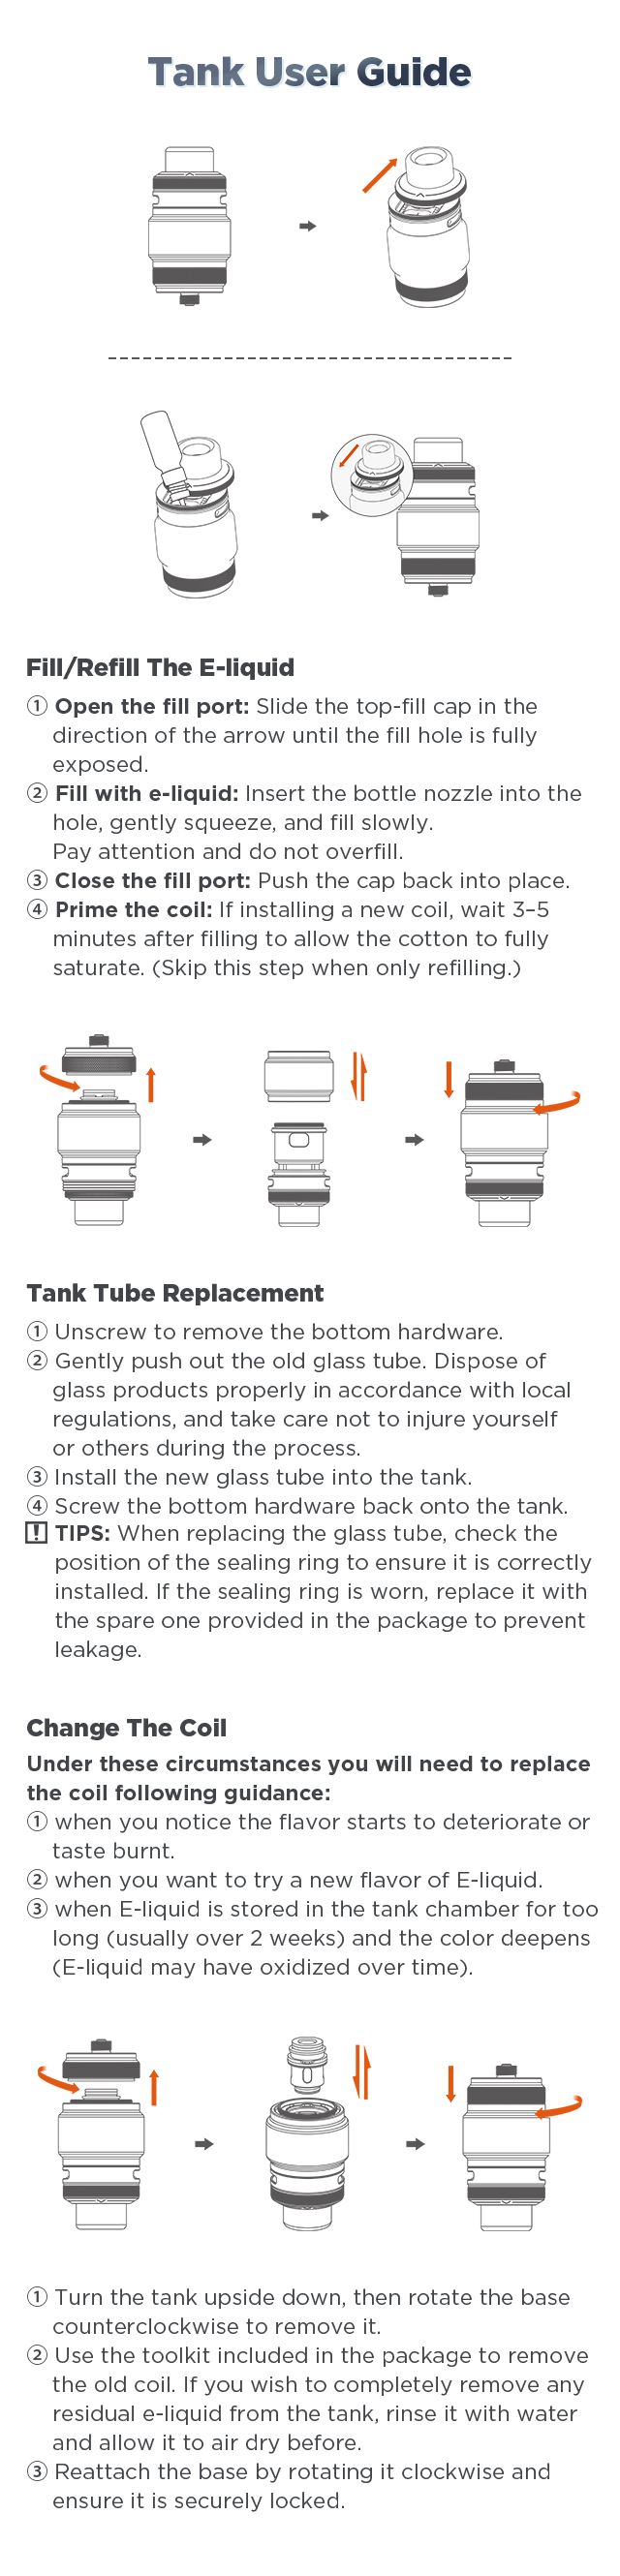
Tank Tube Replacement
① Unscrew to remove the bottom hardware. ② Gently push out the old glass tube. Dispose of glass products properly in accordance with local regulations,
and take care not to injure yourself or others during the process.
③ Install the new glass tube into the tank.
④ Screw the bottom hardware back onto the tank.
 TIPS: When replacing the glass tube, check the position of the sealing ring to ensure it is correctly installed.
If the sealing ring is worn, replace it with the spare one provided in the package to prevent leakage.
TIPS: When replacing the glass tube, check the position of the sealing ring to ensure it is correctly installed.
If the sealing ring is worn, replace it with the spare one provided in the package to prevent leakage.

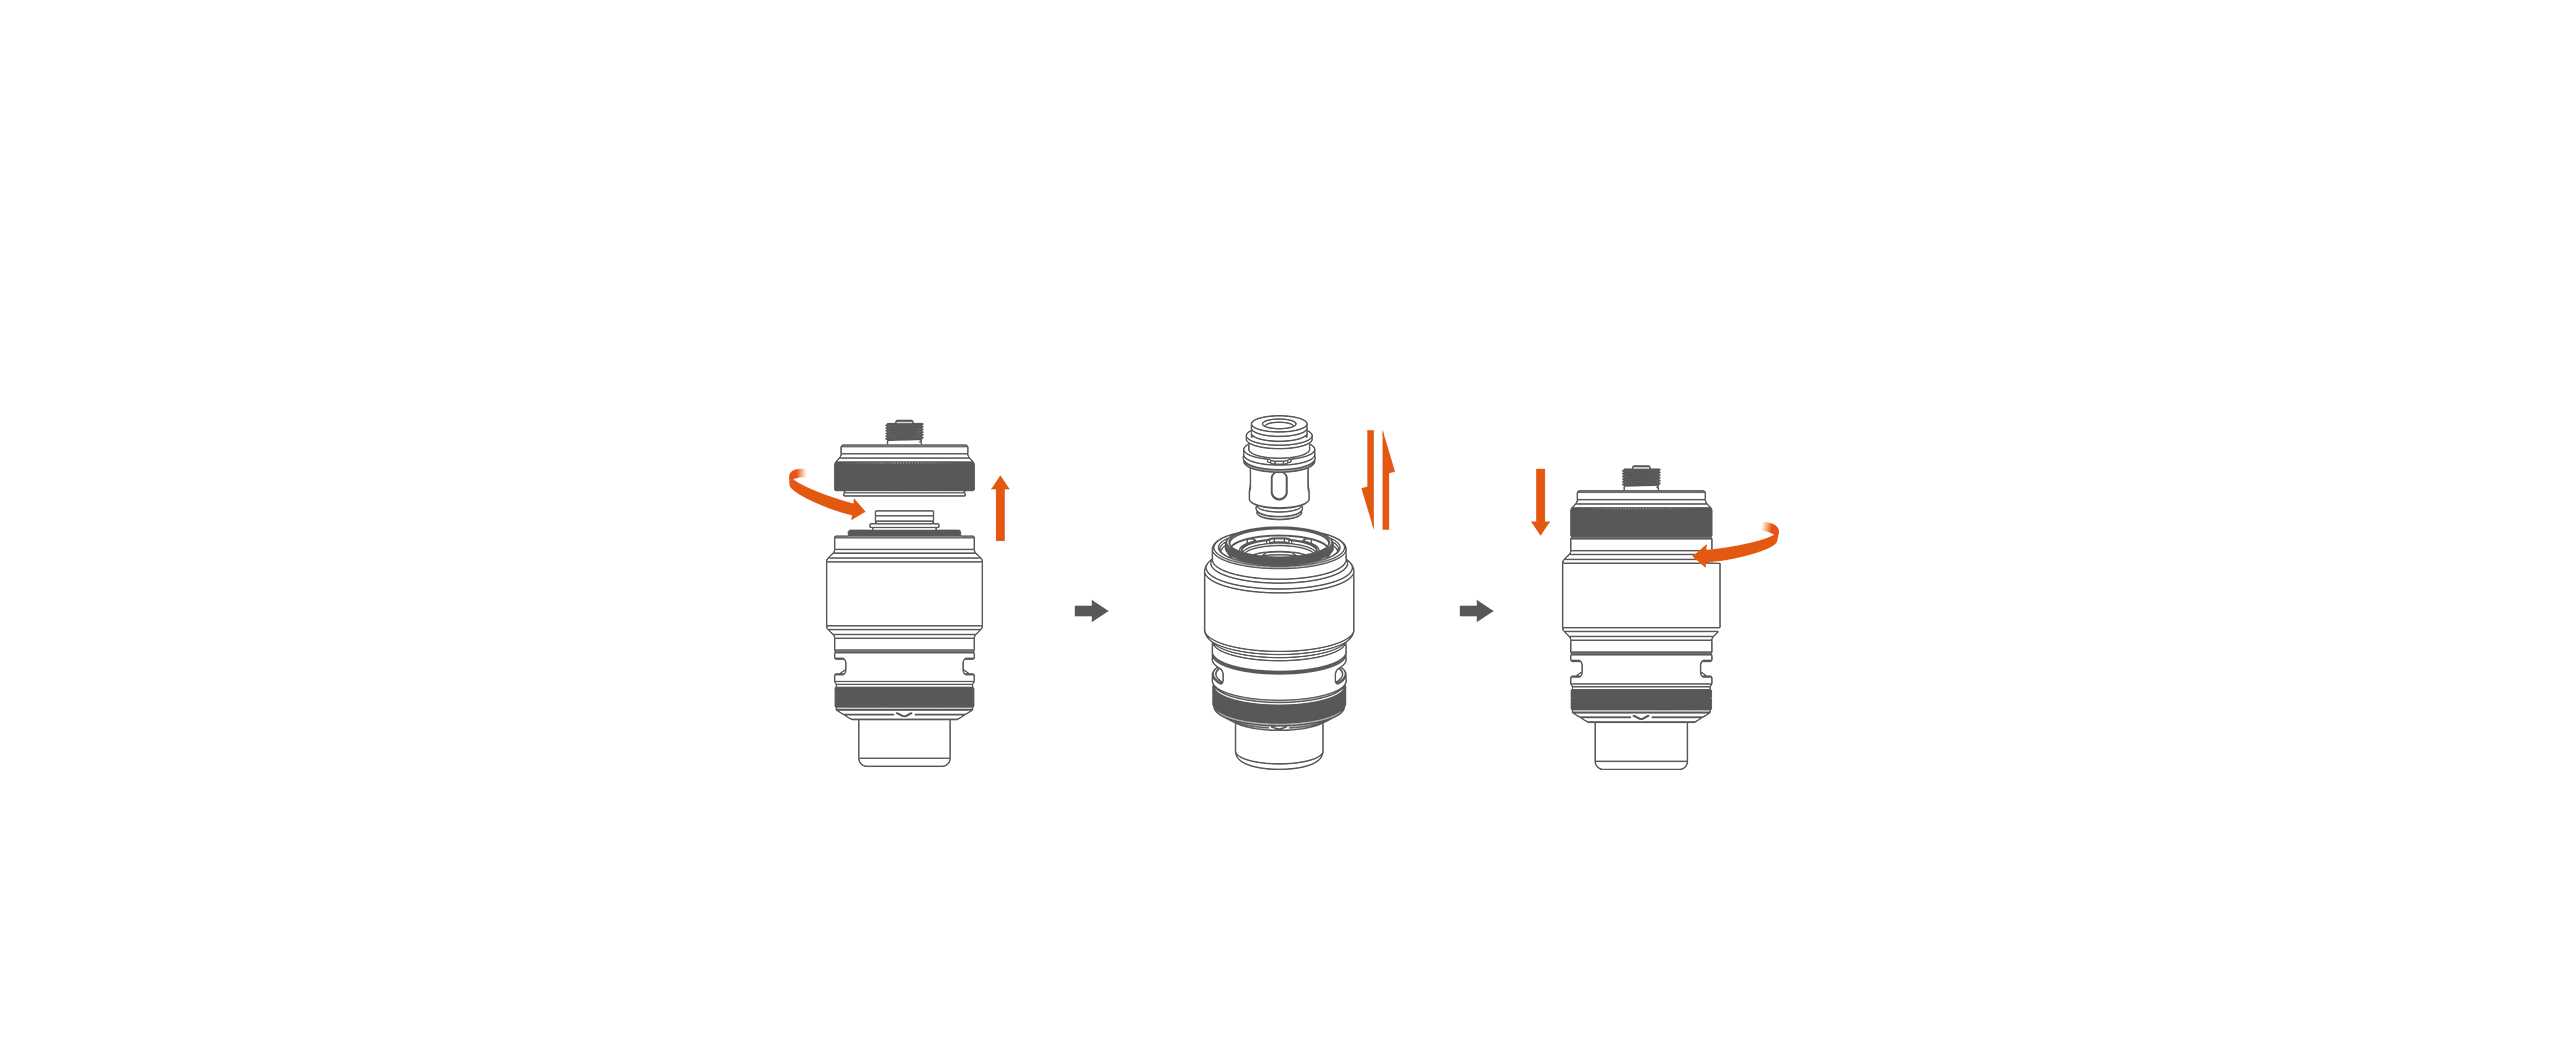
Change The Coil
Under these circumstances you will need to replace the coil following guidance:
① when you notice the flavor starts to deteriorate or taste burnt. ② when you want to try a new flavor of E-liquid.
③ when E-liquid is stored in the tank chamber for too long (usually over 2 weeks)
and the color deepens (E-liquid may have oxidized over time).
① Turn the tank upside down, then rotate the base counterclockwise to remove it.
② Use the toolkit included in the package to remove the old coil. If you wish to completely remove
any residual e-liquid from the tank, rinse it with water and allow it to air dry before.
③ Reattach the base by rotating it clockwise and ensure it is securely locked.
② Use the toolkit included in the package to remove the old coil. If you wish to completely remove
any residual e-liquid from the tank, rinse it with water and allow it to air dry before.
③ Reattach the base by rotating it clockwise and ensure it is securely locked.